Nxt sumo bot building instructions pdf
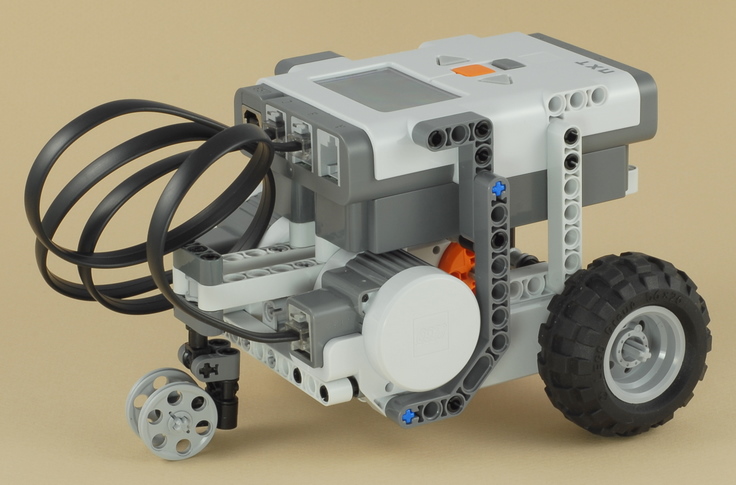
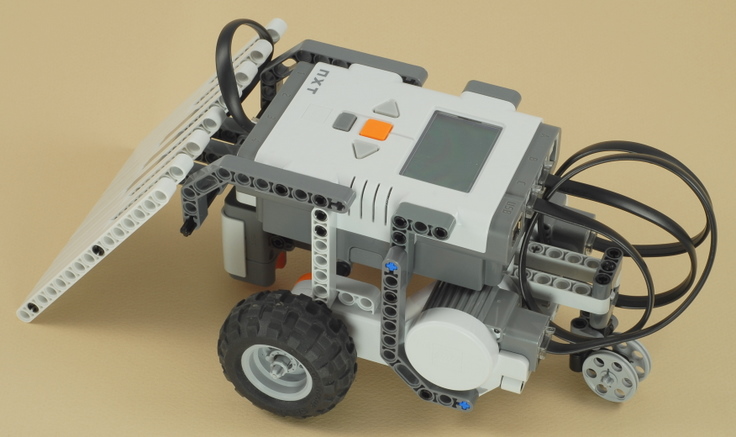
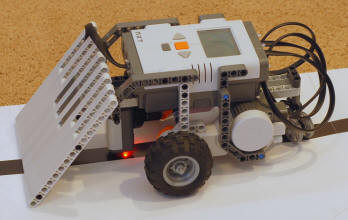
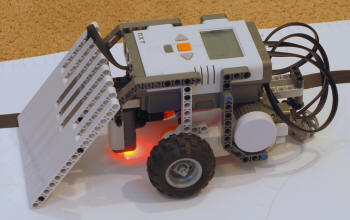
Start by building the Castor Bot. Click the picture for building instructions.


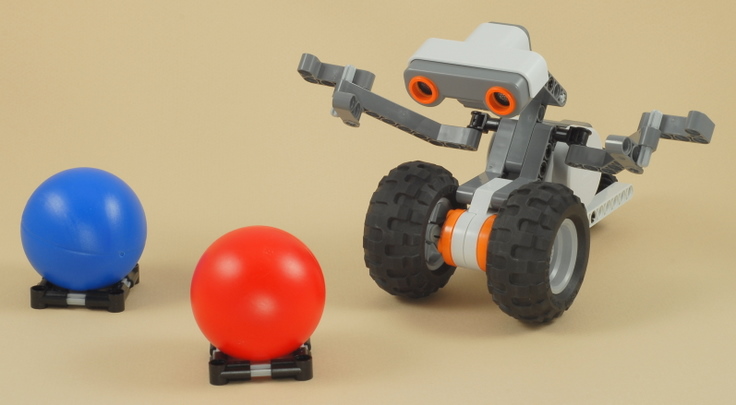
| Design your own dummy robots or other objects for your Sumo bot to try to push outside the ring. |
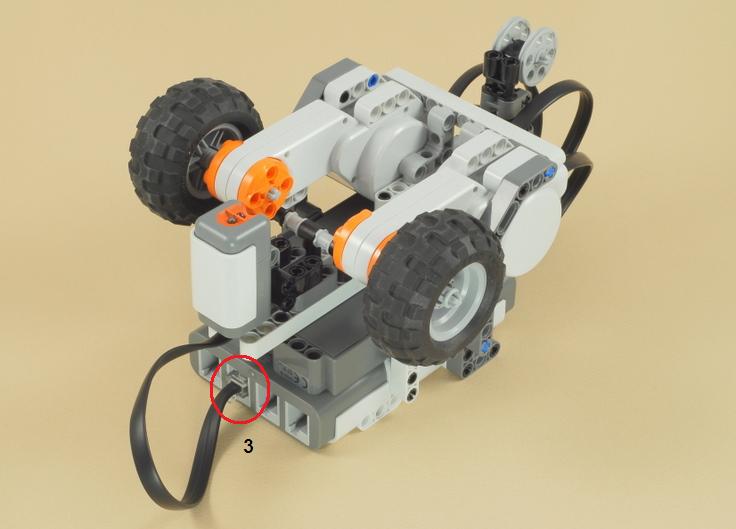
Before using your Sumo bot, you must calibrate the light sensor to the colors on the actual surface that you will be using (with the sensor attached to the robot as it will be used). The program Calibrate_L3 can be used to calibrate a light sensor attached to port 3. The NXT will remember the sensor calibration between program runs, so you can run the Calibrate_L3 program once, then run your Sumo program as many times as you want after that, as long as the lighting conditions don't change. This program can also be used to calibrate a light sensor on port 3 any time you need it for other robots.
The Mini_Sumo program is a very simple driving strategy for a Sumo robot. It simply makes the robot go straight forward until the light sensor sees something dark on the surface (might be the ring border), then it backs up a little, turns right to head back into the ring, then repeats (going straight and looking for the ring border again). This will make the robot wander blindly around the ring, pushing whatever is in front of it, and hopefully whatever it finds will get pushed outside before the robot accidentally drives outside the ring on its own.
 |  |
| Step 1 of the light sensor calibration wants the sensor to be over the black border line. | Step 2 of the light sensor calibration wants the sensor to be over the plain white surface. |
Making your own Sumo Ring
The test pad that comes with the NXT set is not a plain white surface with a simple border. There are other markings inside the ring, and the border is partially interrupted by the "Start" area (What do you think this will do to your robot's strategy?) Making your own ring will produce more consistent results and avoid damaging your test pad. If you want to make your own ring, I suggest:
- For a surface you could use a light colored hard floor, or a flat board-like surface that is light colored, painted white, or covered with white paper.
- For the borders, black electrical tape works well and comes off easily if you are on a floor. Although a traditional robot Sumo ring is round, making a round border with tape is difficult, so I would suggest an octagon (like a Stop sign) shape .
- Don't make the ring too large or the robots will have trouble finding each other.
- For off-season FIRST LEGO League teams, turning the competition mat over and taping out an octagon area with electrical tape works great.
- Using the robot and program given here, and a small dummy robot such as that shown above, it should be easy for the NXT robot to push the dummy robot outside of the ring, because the dummy robot is much lighter and not powered. However, if you try several runs starting in different positions, you may get a round where the dummy wins because your Sumo bot accidentally drove outside the ring on its own, perhaps due to contact with the dummy robot, or perhaps totally on its own. Can you figure out why and improve the robot or the program to try to prevent this?
- There are many ways to design a Sumo robot, and if you go head-to-head with another robot, then your success will also depend a lot on the design and strategy of the other robot. If you have a friend with an NXT set (or two sets of your own), try some real head-to-head matches. After seeing the results of a few runs, both sides should try improving their robots or programs. You can go on this way as long as you want in an "arms race" of increasingly better and smarter robots.
- Using a light sensor to detect the ring border is a typical starting point, but more sophisticated Sumo robots might try using the touch sensor and/or the ultrasonic sensor to try to detect the other robot. Try adding other sensors and writing a new program that uses them. For examples of how to use the other sensors, take a look at the Bumper Car and Ball Hunter projects. Programming a robot that uses multiple sensors at the same time gets much trickier, though. For an example of using two sensors at the same time, see the Explorer project.
